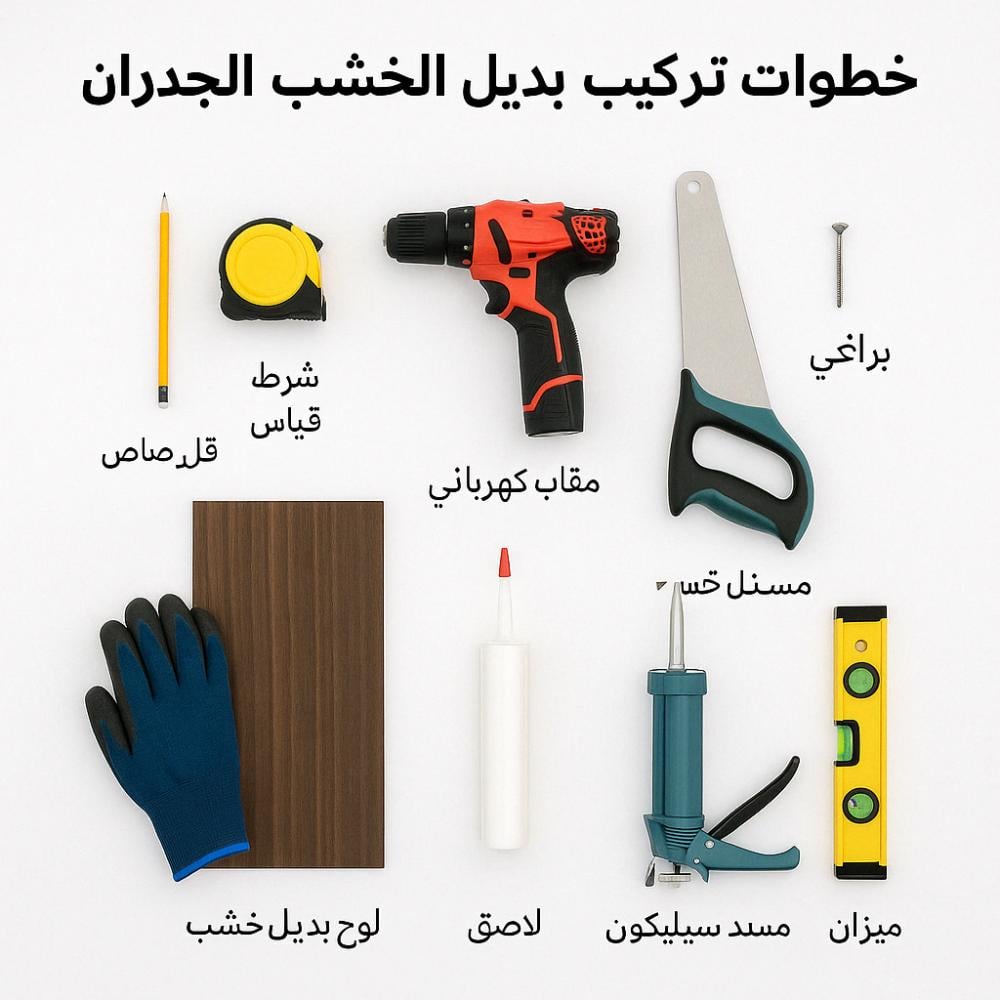
Steps for installing wood alternatives on walls
If you're looking to renovate your home's decor in an elegant and easy way, installing wood-based alternatives on walls is one of the best solutions available. Thanks to the variety of styles and ease of installation, anyone can achieve professional results without the need for a specialized technician.
Required tools:
- laser level or water level
- Marker
- ruler or meter
- Silicone adhesive or strong decorative glue
- Glue gun (if using silicone)
- Hand or electric saw (if you need to shorten the boards)
- Cleaning wipes and a cloth
Installation steps:
1. Wall preparation:
Clean the wall thoroughly to remove dust or grease. It is preferable that the wall be smooth and free of any irregularities.
2. Planning:
Use a meter and marker to draw guide lines on the wall. Make sure to use a laser or water level to maintain straightness.
3. Apply the adhesive:
Apply appropriate amounts of silicone adhesive to the back of the wood replacement board, especially at the edges and center.
4. Install the board:
Press the panel firmly against the wall for a few seconds. If necessary, use temporary tape to hold the panels in place until the glue dries.
5. Cutting the panels:
If there are edges or corners, use a saw to cut the board to the required size.
6. Cleaning:
Wipe away any excess glue that appears from the edges, and clean the surface with a soft cloth.
Additional tips:
- Start installation from the bottom up or from one corner, to avoid mistakes.
- Try arranging panels "opposite" or alternating angles for a modern look.
- Wood alternative suitable for living rooms, bedrooms, entrances and even offices.
📌 Order wood alternative panels now from the Art Design store and enjoy easy installation and amazing results.


